

Most dolls have a neck peg that allows their head to turn and pivot slightly up/down so that they can cock their heads as well. It's so minor it's not something you even really notice... until it's gone!
Rainbow High dolls heads only turn side to side. They do not pivot. This is not thaaaat big a deal, except their heads are slightly upturned so you can't have them looking at the camera from straight on. Like so:
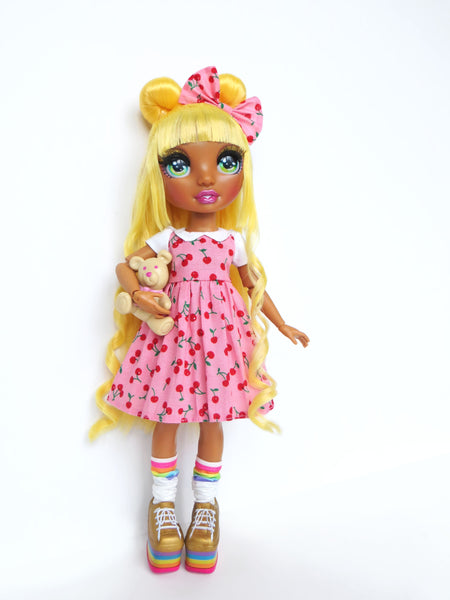
If you want them looking at the camera you have to take a shot from above that makes them look shorter/squatter. It really limits the posing, which is a shame when the rest of the doll is so poseable.
Now I *heard* that you can work out the neck peg and stick in a barbie neck peg to get tilt. I tried it buuuut... 2 problems:
1. Without being attached to the doll on the inside, the head goes a bit floppy.
2. I don't really want to have to cut up a bunch of perfectly good Barbies.

So what I need is something that holds the doll's head on (already included in the peg) but to attach it to a ring that is similar to the barbie ring but a bit more rigid/slightly larger so that it holds itself inside the neck without needing to be attached on the inside.
Here's what I came up with:

These things come in all different sizes. This is the one that I found to fit best.
I then did this with the existing neck peg:

Note: the ^ shape at the top of neck pegs? Totally unnecessary. For adults. These are to make heads super hard to remove so that a 1 year old doesn't pry off the doll's head and choke on it. I always clip these off
So I used the hook screw to recreate the shape I needed. Now the first doll I did this with, I was just able to screw the hook through the clipped off neck piece, but some of the neck pieces I made I needed to drill a hole to make it easier. 1/18" drill bit does it.
To get the screw into the neck I heat up the neck to make the plastic slightly more pliable. This makes it just soft enough to jam the round end into the neck. If the neck is warped by doing this, I heat it up more and squish it back into the shape it's supposed to be.

To adjust the looseness of the neck, I just twist the disc slightly up or down on the screw. A bigger gap between the disc and the neck, the looser the head (and more poseable). The tighter, the less pivot. If you tighten it to the max, you'd end up with a neck peg that just twisted like the default neck pegs.
I try to find the sweet spot where the head stays posed in the angle you put it in, but doesn't move around on its own. This is a little harder because the dolls heads are pretty heavy, but it is totally doable.
And here's the result!

So cute <3 how about another

Yassss so much improvement.
OKAY! Now before you run off and do this to all your dolls, I've got a few kind of important things to mention.
First: YOU DON'T NEED TO POUR BOILING WATER ON YOUR DOLL TO GET THE HEAD OFF!
Seriously, I see this in so many video tutorials and in like half of them the person ends up scalding themselves. Just don't. If you already did the doll's hair or face, heat the bottom of the doll's head with a blow dryer. It'll save you having to redo the hair or possibly screw up a faceup.
You can use boiling water of course, you just don't *have* to.
Second: After you get your doll's head off, heat up the neck. This is the part I do use boiling water for. This makes the neck peg pliable, you can just rip it out (almost always) with a pair of needle nosed pliers in one piece.
Third: ^ "almost always"= things can go wrong. I did 6 dolls, 4 came off perfectly, 2 had issues.
Both of the dolls that had issues were wave 2 dolls, so that might mean something about wave 2 materials, but maybe not. Could be coincidence!
The first one, the neck seam of the torso split along the seam when it pulled the neck peg out. Easy enough fix: I fused it back together with super glue after I put the new peg in and let it sit for 24 hours to cure before putting the doll head back on to be safe.
The second one was more of an issue. The neck peg snapped when I pulled it out beneath the disc, not down at the base, leaving me with a stuffed neck and no easy way to get it out. For this one, I pulled out my dremel and carved out the neck peg that way. Popped the new neck peg in, good to go.
Other things could probably go wrong too, but that's just a risk when you customize. So don't experiment with your favorite, no longer being sold, limited edition doll if you aren't confident you can fix anything that can go wrong.
 Yasss such a difference <3